")
")
Buffing Tools

Specifications
-
Often, on metal miniatures, asperities are present and small mold lines are hard to reach.
This little tip will help you fix all these problems.
For this example, I've picked a large miniature, so that you can see the difference, but this trick works for all metal models.
As you can see on the picture, the miniature looks “grainy”. This is inherent to molding metal and isn't optimal for a good painting surface.
Note: the miniature in the example has not been prepared or had its flash removed – it's just been taken out of its mold.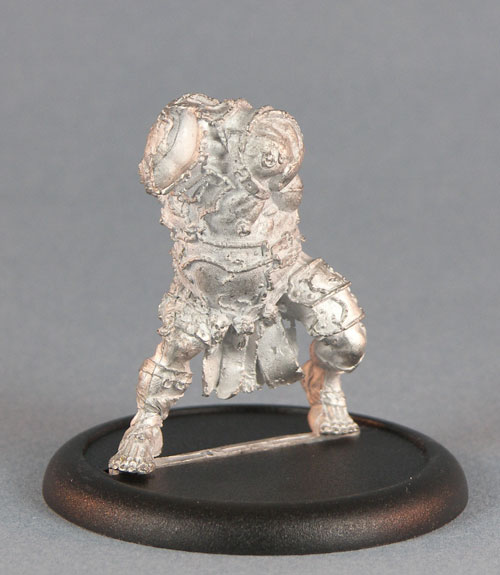
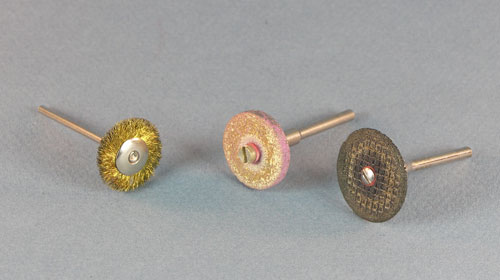
A number of buffing brushes exist for electric mini-drills (example: the brass brush on the left in the picture).
The problem with these brushes is that they're often too abrasive for the metal of which miniatures are made and you risk damaging some of their details (the miniatures' details, that is).
On the right of the picture, you can see grinding/sawing tools. These aren't adapted for buffing miniatures, but what is of interest to us are the axles of these tools.
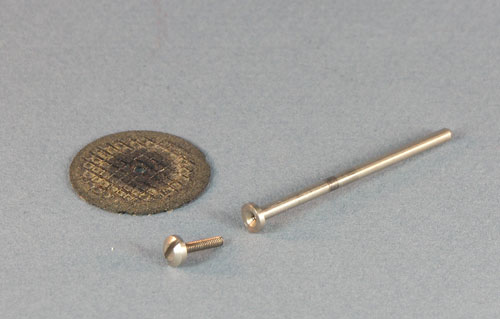
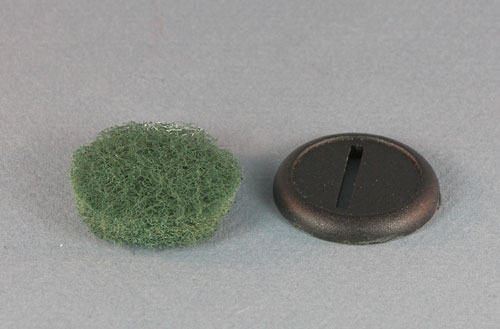
So in order to use the axle to make our own tool, unscrew the tip.
Get yourself a roll of scotch-brite.
You can find some pretty much anywhere, in art stores, pharmacies, etc.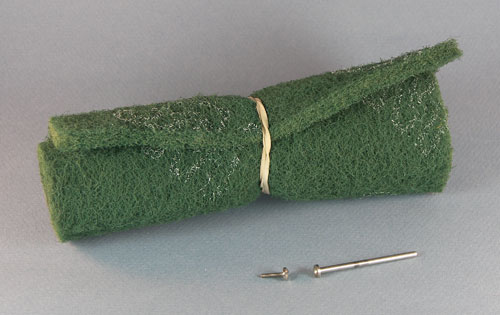
With a pair of scissors, cut a round shape in the scotch-brite, about 3 cm across.
Just like on the picture, you can use a round base in order to make it easier on yourself.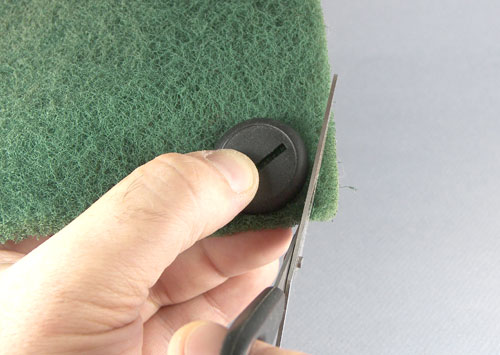
This is what you should get.
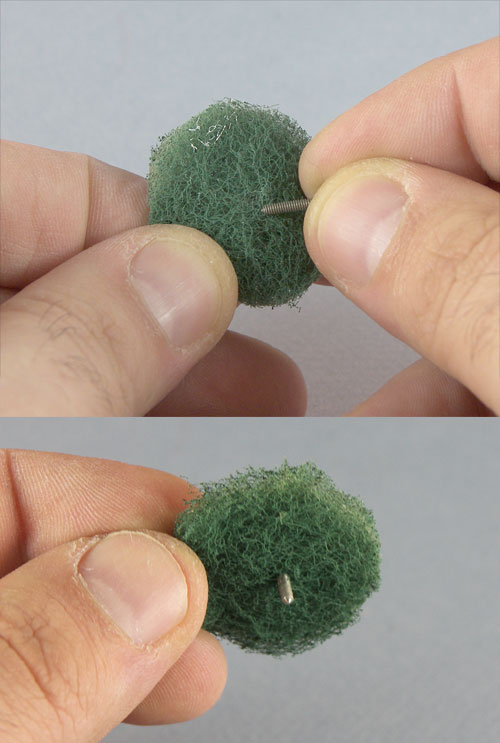
Make a hole in the scotch-brite circle, in order to stick in the screw holding the tool's axle.
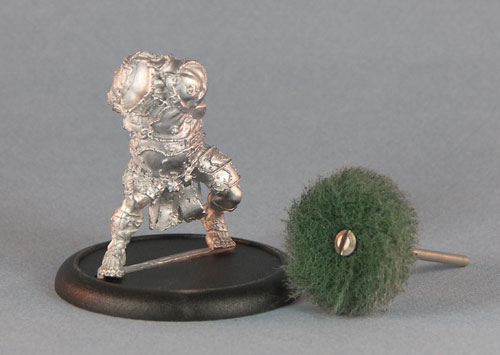
All that's left is assembling the axle's rod on the previously placed screw.
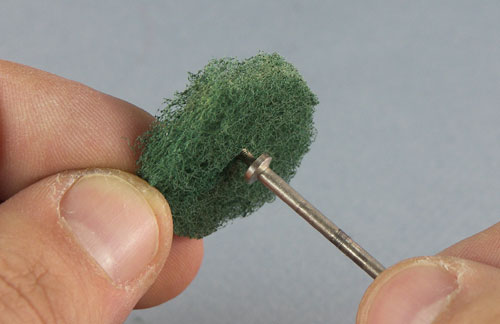
You can now set the tool on your mini-drill.
Always start with a low speed, in order to see how much buffing you need and avoid damaging the finer details of your model.
You can increase the speed depending on the hardness of the metal and the level of buffing required.
Of course, it's better to prepare your miniature and remove its flash before starting to buff, which should the last step before priming.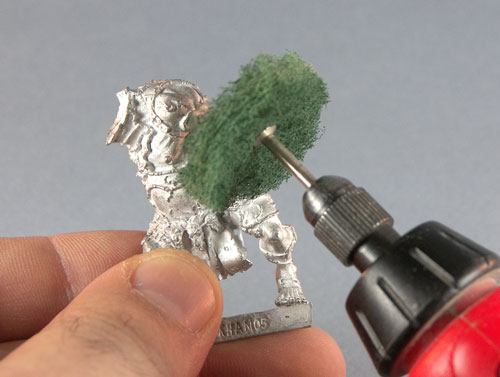
And here's the result.
Note: Only the right side of the miniature has been buffed, so you can see the difference.
After buffing, I suggest you clean the miniature with an old toothbrush and some dish soap under warm water, in order to remove the residue and dust from buffing and allow the primer to have better adhesiveness.
There – now all that's left is to prime and bring out the brushes
 .
.
Note: Only the right side of the miniature has been buffed, so you can see the difference.
BEFORE AFTER
Tutorial translated by Eric HARLAUX
© ANAKRON Miniatures Studio - WWW.ANAKRON.FR
Tous les textes, photos, sculptures, dessins, vidéos, etc... de ce site sont la propriété de leur auteur et ils ne peuvent en aucun cas être utilisés sans son accord.Si vous souhaitez pour quelque raison que ce soit utiliser un élément issu de ce site contactez moi au préalable. Merci.
ANAKRON Miniatures Studio - c/o AYRAL David - 28 Avenue Gambetta - Appt 3 - 81300 GRAULHET - France - SIRET : 508 232 188 00013